This step is very important, please read carefully and follow our instructions to ensure a proper bonding of your fastener to its support!
⚠️ CAUTION !
To ensure a perfect bonding of the fastener to your support, please check the following points :
✅ my helmet has been in a temperate (15° mini) and not wet atmosphere for more than 4 hours
✅ my fixation has been in a temperate (15° mini) and not humid atmosphere for more than 4 hours
✅ the surface where I will glue my fixation is clean, not wet and not greasy
✅ before sticking my fastener, I position it on my helmet or visor to take my bearings
✅ once glued, wait about 4 hours before attaching or detaching your camera to ensure proper gluing
Let's go, a few seconds are enough!
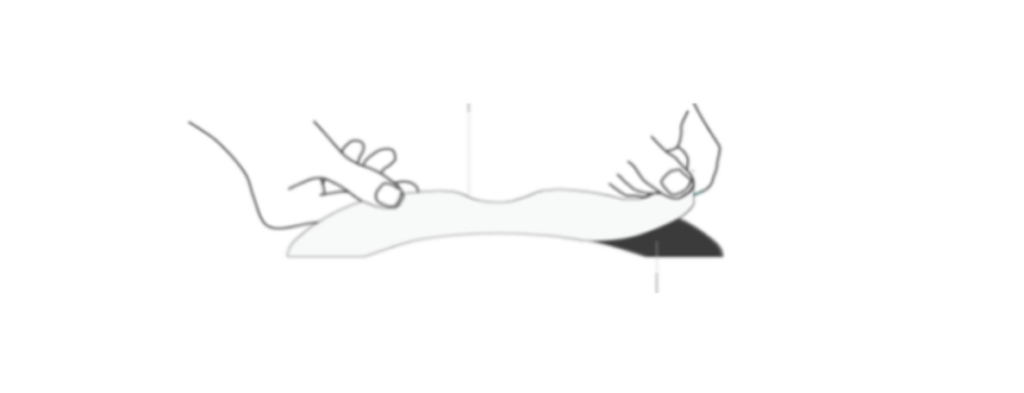
Before removing the protective film from your hook-and-loop fastener, we recommend that you place it on your helmet or visor, in order to remember its appropriate location. Then meticulously remove the protection, taking care not to put your fingers on the self-adhesive part.
Install the hook-and-loop fastener perfectly centered on your helmet or visor, then press hard on its entire surface to ensure a good bonding on its support
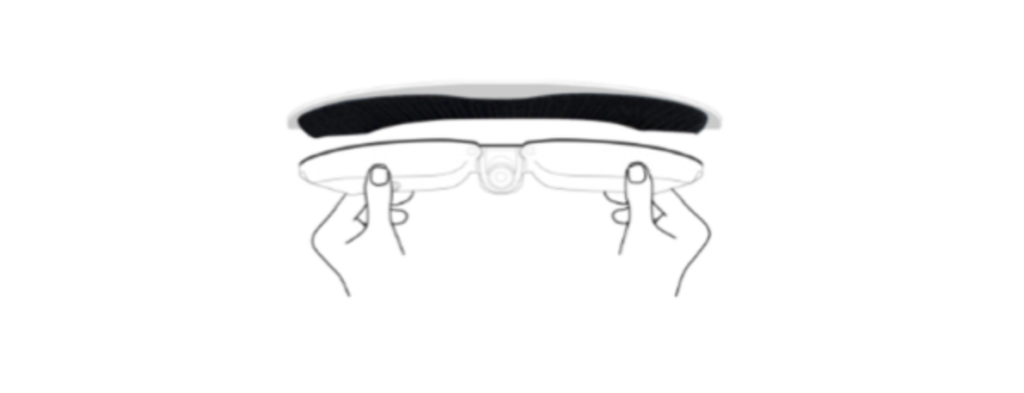
Present your Cambox® horizontally, centered on your helmet or visor, and place it on your hook-and-loop fastener.
Finally, apply pressure with your fingers to the 3 parts of your Cambox®, as shown above.
⚠️ Specific advice
The glue used for our self-adhesive fasteners is conceived to stick on different supports : leather, plastic, fabric…
However, some materials such as alveolar fabric mgiht require the use of a needle and thread in order to sew the velcro strip.
For any question on this topic, do not hesitate to reach to us.